Understanding Dutch Lap Siding
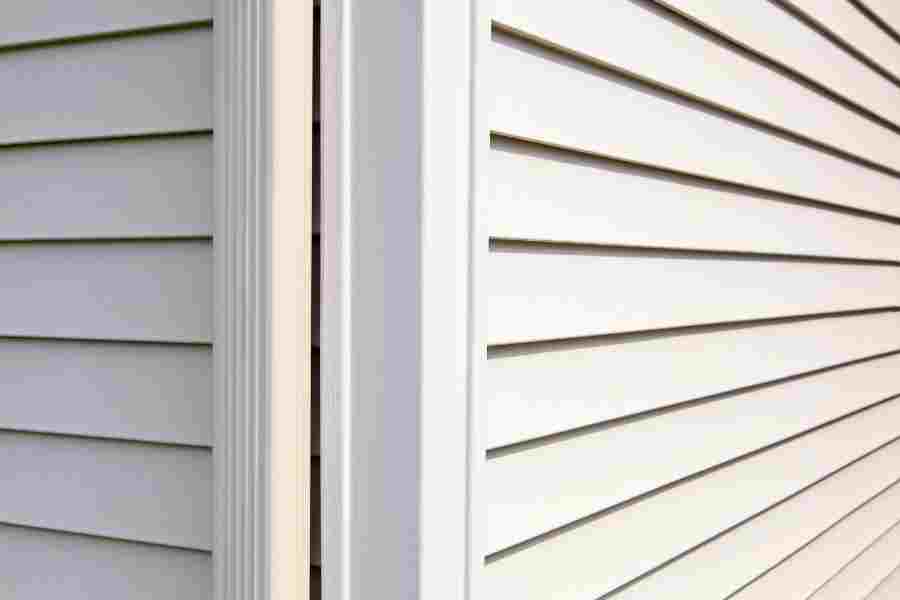
Dutch lap siding is a horizontal siding style that features a curved notch or decorative groove along the top edge of each board. When installed, this groove creates pronounced shadow lines that enhance visual depth.
Key Characteristics
Horizontal board orientation
Decorative groove profile
Overlapping installation for water shedding
Strong shadow line effect
While similar to traditional lap siding, dutch lap siding has a more pronounced visual profile due to its sculpted board design.
Style vs Material
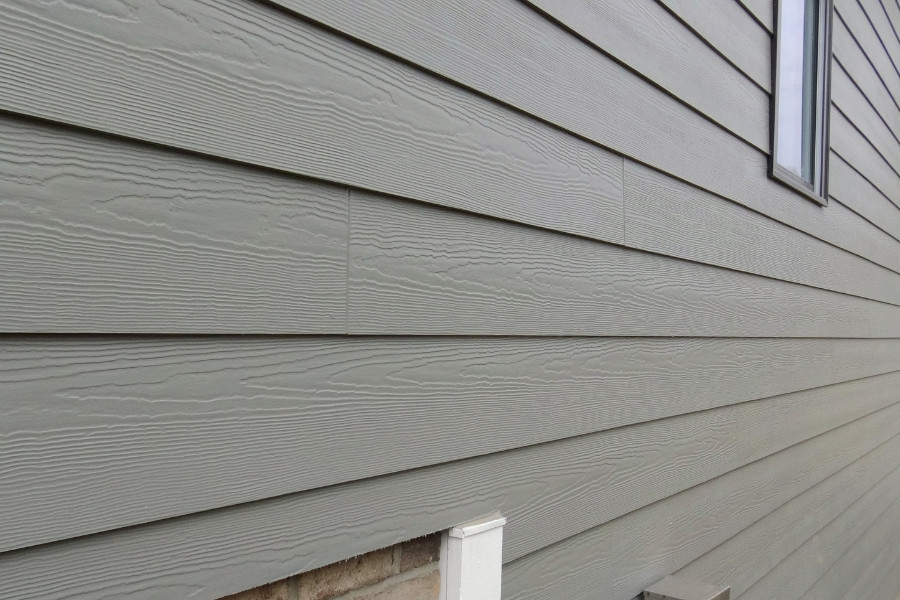
Dutch lap siding refers to the profile of the siding, not the material used to manufacture it. It can be produced from several siding materials, including:
Vinyl siding
Fiber cement boards
Engineered wood siding
Natural wood boards
In Austin, vinyl and fiber cement dutch lap siding are particularly common because they offer durability against UV exposure and require less maintenance than natural wood.
Architectural Popularity in Austin
Dutch lap siding is often used on:
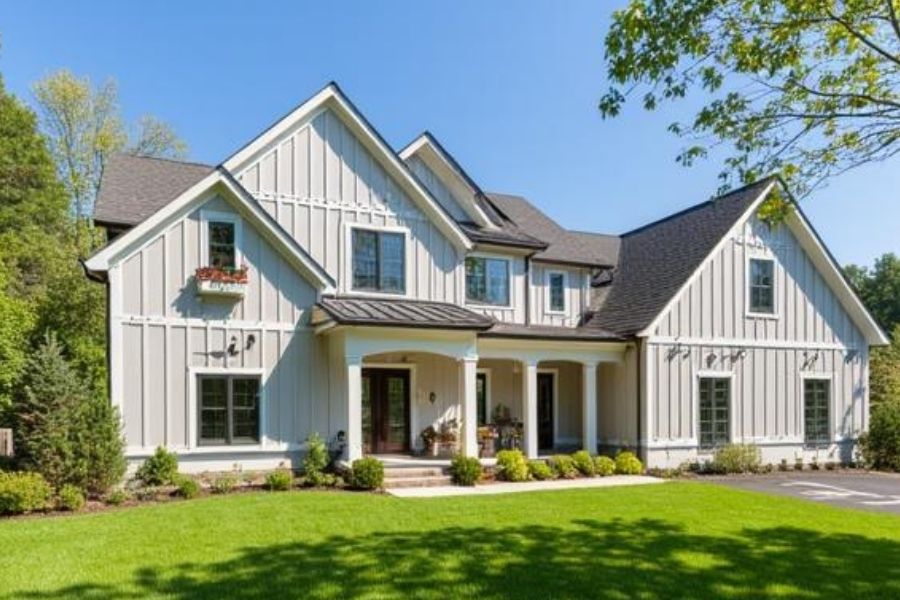
Traditional suburban homes in Cedar Park
Transitional homes in Pflugerville
Craftsman-inspired homes in Round Rock
Mixed-material homes in Lakeway
Because it adds dimension without dramatically changing architectural style, dutch lap siding is often selected as a practical siding solution when comparing various siding materials, evaluating overall siding cost, and working with a trusted siding contractor to ensure proper installation for Austin’s heat and seasonal weather conditions.
Why Austin Homes Use Dutch Lap Siding
Heat and Thermal Expansion
The Mechanism
Austin summers regularly exceed 100°F, causing siding boards to expand and contract during daily temperature cycles.
Performance Outcome
Dutch lap siding requires proper expansion spacing and fastening to prevent visible movement or warping.
Austin-Specific Factors
Homes in Bee Cave and Lakeway often experience extended afternoon sun exposure that increases thermal stress on siding materials.
Rainfall and Moisture Management
The Mechanism
The overlapping design of dutch lap siding directs water downward away from the wall structure.
Symptoms of Improper Installation
Moisture infiltration behind boards
Paint blistering or discoloration
Swelling of wood-based siding materials
Austin’s spring thunderstorms can produce sudden heavy rainfall, making flashing and moisture barriers critical.
Wind and Hail Exposure
The Mechanism
Storm winds and hail events can place stress on siding boards and fasteners.
Possible Symptoms
Cracked boards or panels
Loose trim pieces
Fastener pull-through
Hill Country areas such as Dripping Springs may experience higher wind exposure than central Austin neighborhoods.
Joint and Seam Stress
The Mechanism
Horizontal seams must remain properly staggered and sealed to maintain structural integrity.
Symptoms
Uneven shadow lines
Sealant cracking
Visible board separation
Professional installation helps reduce the need for long-term siding repair.
Signs Dutch Lap Siding May Be Right for Your Property
Dutch lap siding may be a good fit if:
You want a traditional horizontal siding appearance
You prefer deeper shadow lines than standard lap siding
Your HOA favors classic architectural styles
Your home currently has horizontal siding
You are planning a full siding replacement
You want a decorative but subtle exterior upgrade
Your design includes mixed siding materials
Because of its classic appearance, dutch lap siding works well for both older homes and new construction.
How We Install Dutch Lap Siding in Austin, TX
Professional dutch lap siding installation involves several important steps.
1. Structural Inspection
Evaluate sheathing, framing, and existing moisture barriers.
2. Removal of Existing Cladding
Old siding is removed carefully if part of a renovation.
3. Weather Barrier Installation
House wrap and flashing protect against moisture infiltration.
4. Starter Strip Installation
Ensures proper alignment of the first row of siding.
5. Board Installation
Dutch lap boards are installed horizontally with proper overlap and spacing.
6. Trim and Corner Detailing
Trim components and flashing protect edges and seams.
7. Final Inspection
Most installations require 3–7 days, depending on the size of the home and the complexity of the design.
Permitting requirements and HOA design guidelines are reviewed before beginning siding installation.